Now that you’ve downloaded Data Excavator, got the key, opened your first project, and got an idea of how the Data Excavator tools and templates from the previous three lessons work, you’re ready to try your first sample project!
Many websites have similar layouts that present a page containing a list of results and another page containing details once you have clicked on one of these results: this applies to directories, listings, e-commerce sites, classifieds sites, real estate. listings, dealerships, blogs, news sources… etc.
In this example, we will gather information from https://www.therange.co.uk/ as an example of how you can extract information from this type of site.
First step.
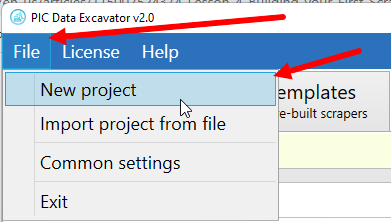
⦁ Click on “File” and select “New project”.
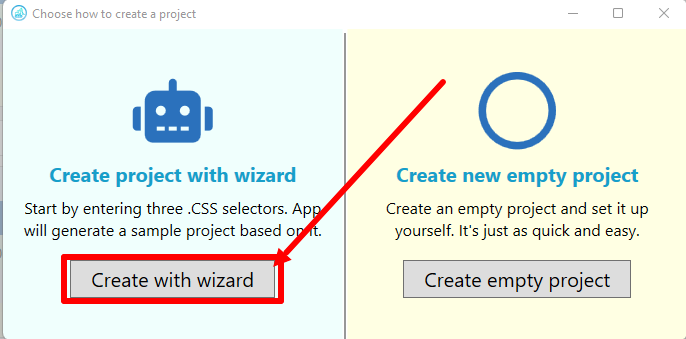
⦁ Press “Create with wizard”.
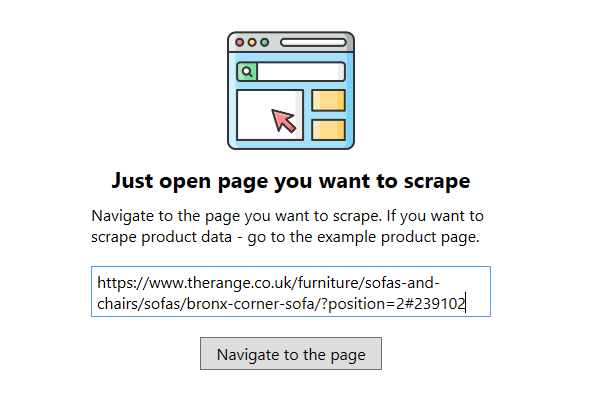
⦁ In the field that appears, type the link to the page from which you want to extract elements..
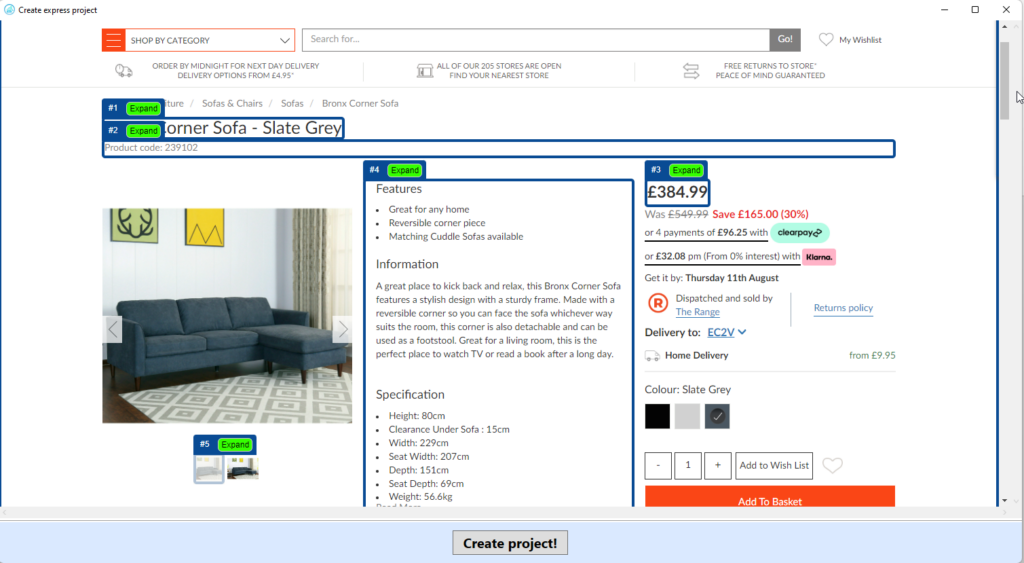
⦁ On the page that appears, we select the elements that we want to scrap. For more information about selecting elements, see Lesson 2, Working with elements. Press the Create project button!
IMPORTANT: the link to the product or section you’re looking for will be automatically listed in the results, you don’t need to search for it separately.
⦁ In this field we specify the project name and its location.
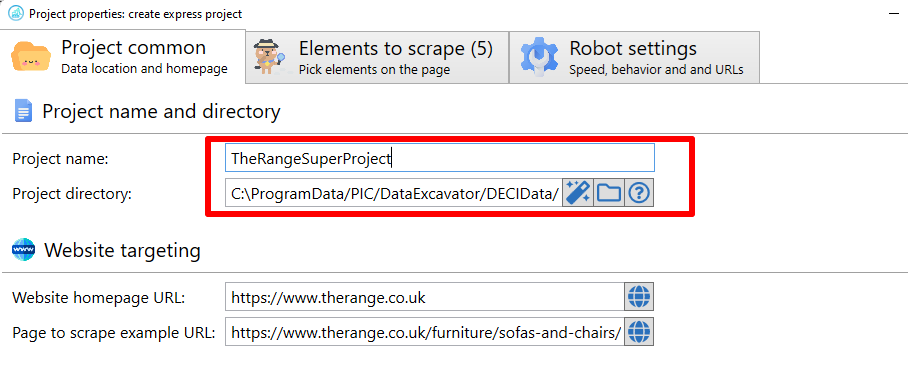
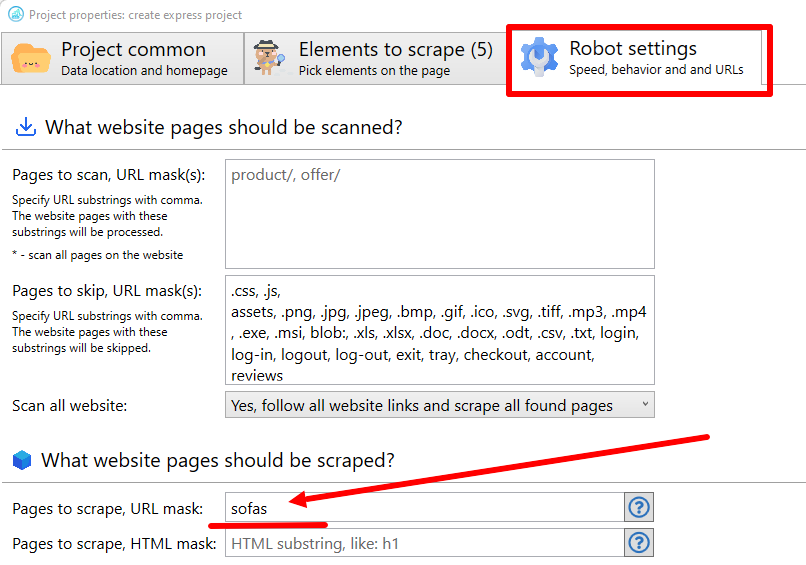
⦁ Specify the distinguishing features of the URLs of the products we want to retrieve. This will be the distinguishing feature by which the program will understand which pages to retrieve data from. In this case, we need all of the Sofas on this site. We will go to a few different sofas, and look for similar URLs that are present in every product.

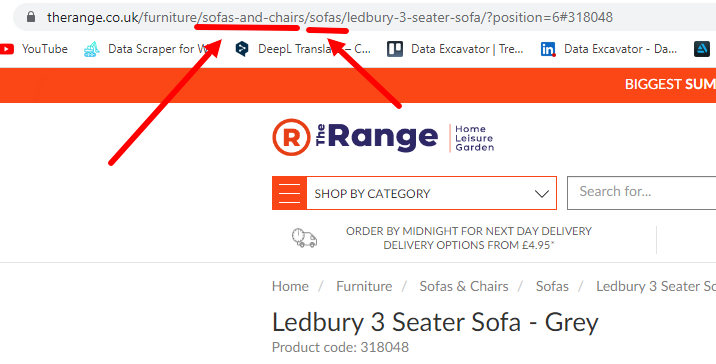
⦁ Once we find the desired URL element, we enter it into the scraping field.
We will complete the creation of the project after the test, which we will do in the next lesson.
Click to view: Lesson 4.1: Testing your Project