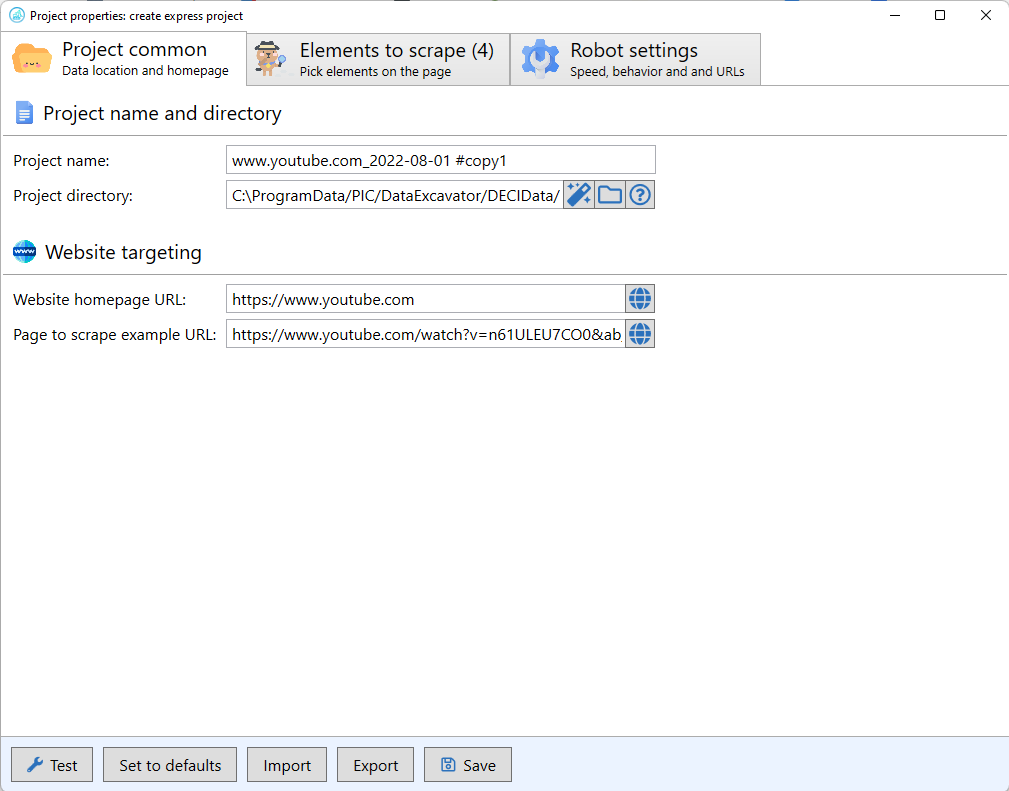
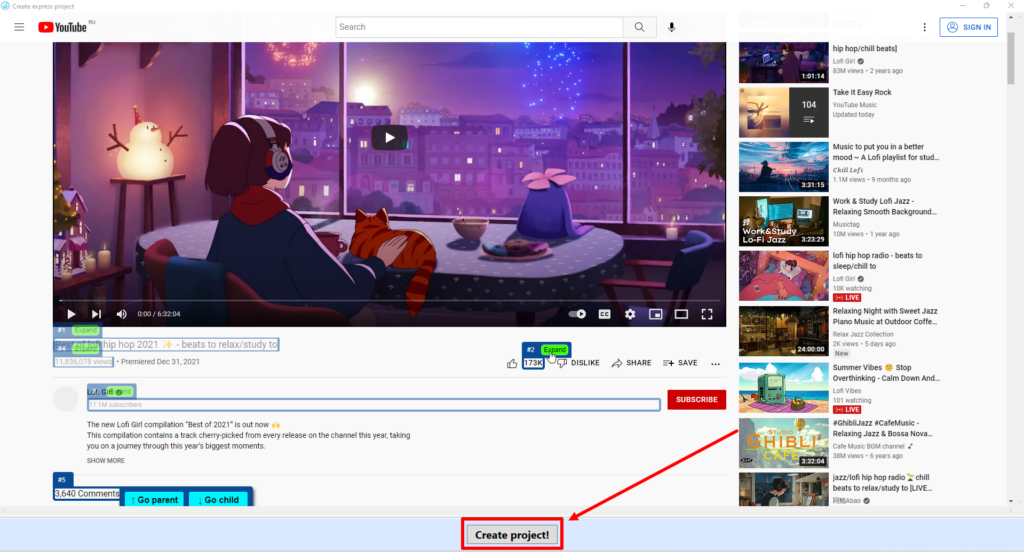
After you open your first project (see Lesson 1: Getting Started), you will find a workspace in the Data Excavator tool:
Specifically, the interactive view of the website that you are clearing.
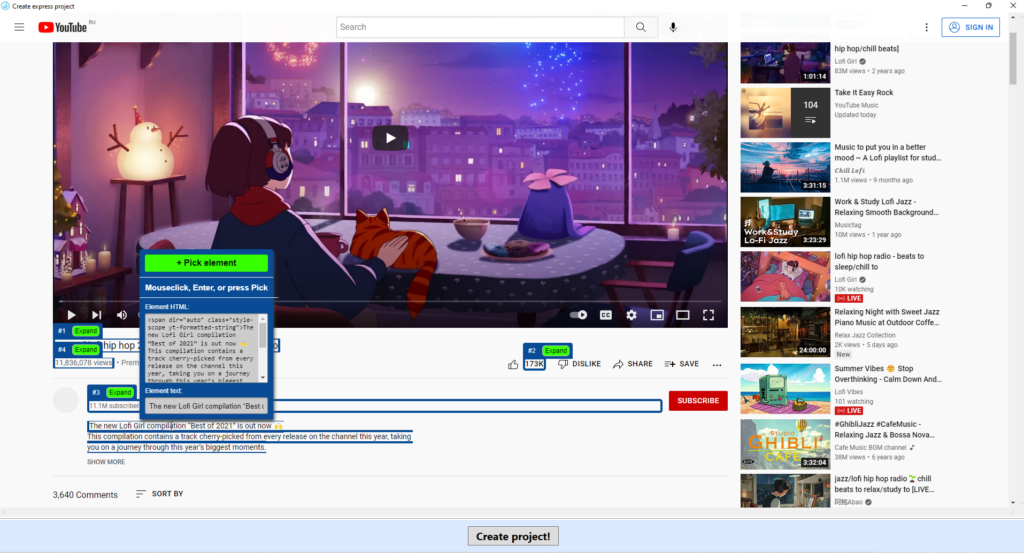
This area contains a website view that you can browse through or where you can select the items you want to clear using the “+ Pick element” commands.
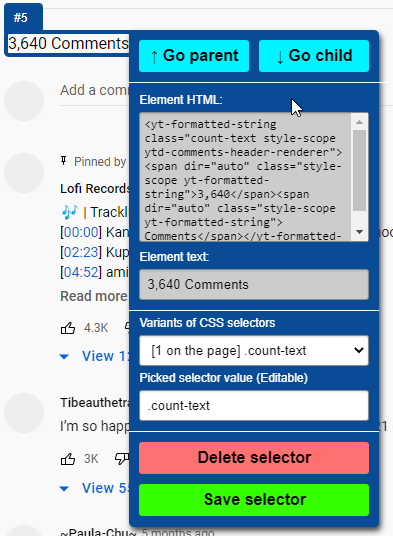
Working with the elements
When you have selected the item you want to extract we click “Save selector”.
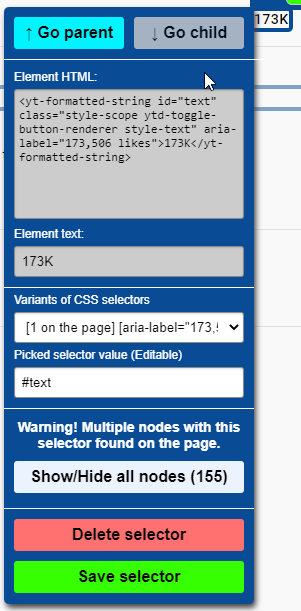
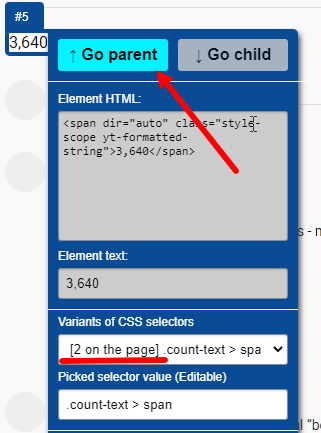
Pay attention to the number of matches. It should be 1 per page if you are interested in 1 item for extraction. In case more than one match appears, you need to click “Go parent”, then the program will search deeper for the item.
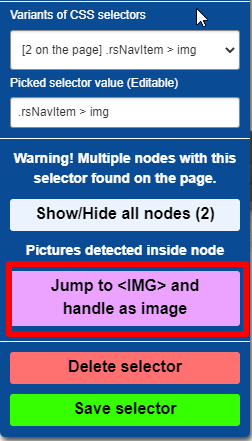
There is a separate button that appears only when you hover over the picture or photo “Jump to and handle as image”.
After that we create our project.
Congratulations you have created your first project!